Five Ways to Produce Flawless Educational Content for Your Association
Membership education videos rank among the best tools in marketing for associations. There is, however, one major drawback, and that’s the variability of production quality.
If the audio or video recording of your program isn’t done well, audience members may doubt the professionalism of both your speaker and your association. On the other hand, if the recording looks polished, audiences will be more inclined to trust it.
Not sure how to land on the right side of that divide? Here are five tips to help you produce association education content that impresses.
1. Choose a setting that will look good on film.
One of the first things that videographers learn is that settings that look beautiful in person don’t always translate well to video. For example, you might look elegant and professional standing in front of the big picture window in a conference center, but that’s not what a camera will see. A camera will be overwhelmed by the light coming from the window and will overcompensate by casting you in shadowy darkness.
You can avoid traps like this by setting up a monochromatic backdrop that hangs down behind your speaker. Alternatively, if you’d prefer a little more visual interest, you can use a real indoor wall as your backdrop. Just make sure it isn’t too cluttered.
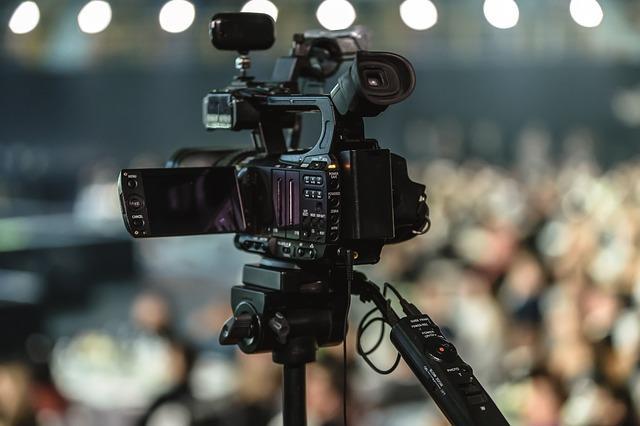
2. Use the right audio equipment.
To get clean, crisp audio and avoid distractions like muffled speech or ambient noise, make sure you’re using the right audio equipment for your setting. For most educational video projects, that means:
- An auxiliary microphone for each presenter (wearable or free-standing – we’ve got a breakdown of using a wearable or “lavalier” microphone here)
- A stand-alone audio recorder
- Professional audio editing software
- Hardware dynamics processors for indoor shoots
All locations should be away from ambient noise sources. This is most easily accomplished indoors. Outdoor shoots typically require the use of a wind protector.
3. Establish the camera frame and keep it clear.
When you set up your shot, define the parameters of what is ‘in-frame.’ This will probably be an area of around 6 to 8 square feet if you’re filming a presentation. Make sure your presenter understands how far they can move during the shoot. Use colored tape to mark boundaries if you need to, but keep the tape well out of frame.
To minimize interruptions and audio interference, consider discouraging people from moving or talking during recording unless necessary. Bookmark this guide on framing your shots to use when setting up.
4. Optimize Q&A sessions for video.
Your Q&A should get as much attention as your main content. Because it builds on the core material, the Q&A deepens everyone’s understanding of the presentation. It also gives the audience a chance to watch the presenter speak competently without a script, which will help them to see the presenter and your association as more authoritative.
All this can be lost, however, if the video setup is insufficient. Too often, audience questions are inaudible, even with the use of microphones.
You can fix this problem easily by instructing your presenter to repeat all audience questions and follow-up questions verbatim. This method is easier on the editing team as well as the audience because the presenter’s mic is also picking up the main content.
5. Set up the stage with recording in mind.
Think of the camera as your most important audience member. Are your presenters too low in the frame? Are they hard to see on-camera? Putting them on risers can help.
Do you have more than one presenter in addition to video content? That’s a lot to keep in-frame, considering the fact that PowerPoints and other visual aids don’t show up well on-camera. Consider asking your presenters to stand side-by-side so they can appear in the same frame.
You should also consider whether your video would benefit from having multimedia content edited into it later. The result will look more professional than a video-recorded screen and will be more engaging for your audience.
Let the Pros Handle It
You know associations, your presenters know their material, and all of you know your industry. Video recording and editing is a skill in its own right, and it’s one that busy professionals don’t often have time to learn.
Fortunately, at Association Studios, we have a team of professional videographers who are highly experienced in the development of educational material for associations. We manage lighting, audio, editing, and all other video elements to create a truly professional final product. Give us a call today to get started. We’ll focus on the technical side so you can focus on the content.
If you are looking for more resources on producing educational content, be sure to check out these articles:
- The Ultimate Guide to Producing Educational Content
- Ways to Save Money When Creating Educational Content
- Getting Great Audio Quality at Conferences
- The Importance of Engaging Video for Associations
This Article was written by
It is a long established fact that a reader will be distracted by the readable content of a page when looking at its layout. The point of using Lorem Ipsum is that it has a more-or-less normal distribution of letters.